Install a Titan Extruder on the Anycubic i3 Mega
MenuThe Anycubic i3 Mega comes with a basic extruder that poses a problem: it does not print flexible filament under good conditions. Indeed, even if several users have looked into this problem, the basic extruder tends to wind the filament around the wheel and it is practically impossible to use a good setting of retraction with...
The other problem of this extruder is that the notched wheel is made of brass: the same metal that is used for the nozzles. It is a soft metal that tends to wear out quickly. It is therefore relatively simple to wear off using your PLA printer regularly or by printing abrasive filaments (phosphorescent filament or containing carbon fibers).
The solution that seems to be the most suitable is therefore to replace this extruder by another model more suited to these relatively recent constraints in 3D printing.
Titan Extruder
I bought a complete Titan Aero head (a direct extruder to mount on the print head) at Trianglelab but having neither the time nor found a support that I liked for the i3 Mega, I did not mounted it. So I test it first in Bowden version, much cheaper and available here for about 20 €: http://s.click.aliexpress.com/e/ci3poAyg (the set 1)
This set contains all the parts to mount a Titan extruder in Bowden and we will keep the extruder motor of the i3 Mega.

Assembly
The assembly is very simple: just unscrew the extruder support of the i3 Mega and mount the new one. Just follow the photos step by step to do it yourself:
1. Disassemble the extruder
Start by removing the bowden tube and the pneufit. Then unscrew the two large screws holding the extruder:


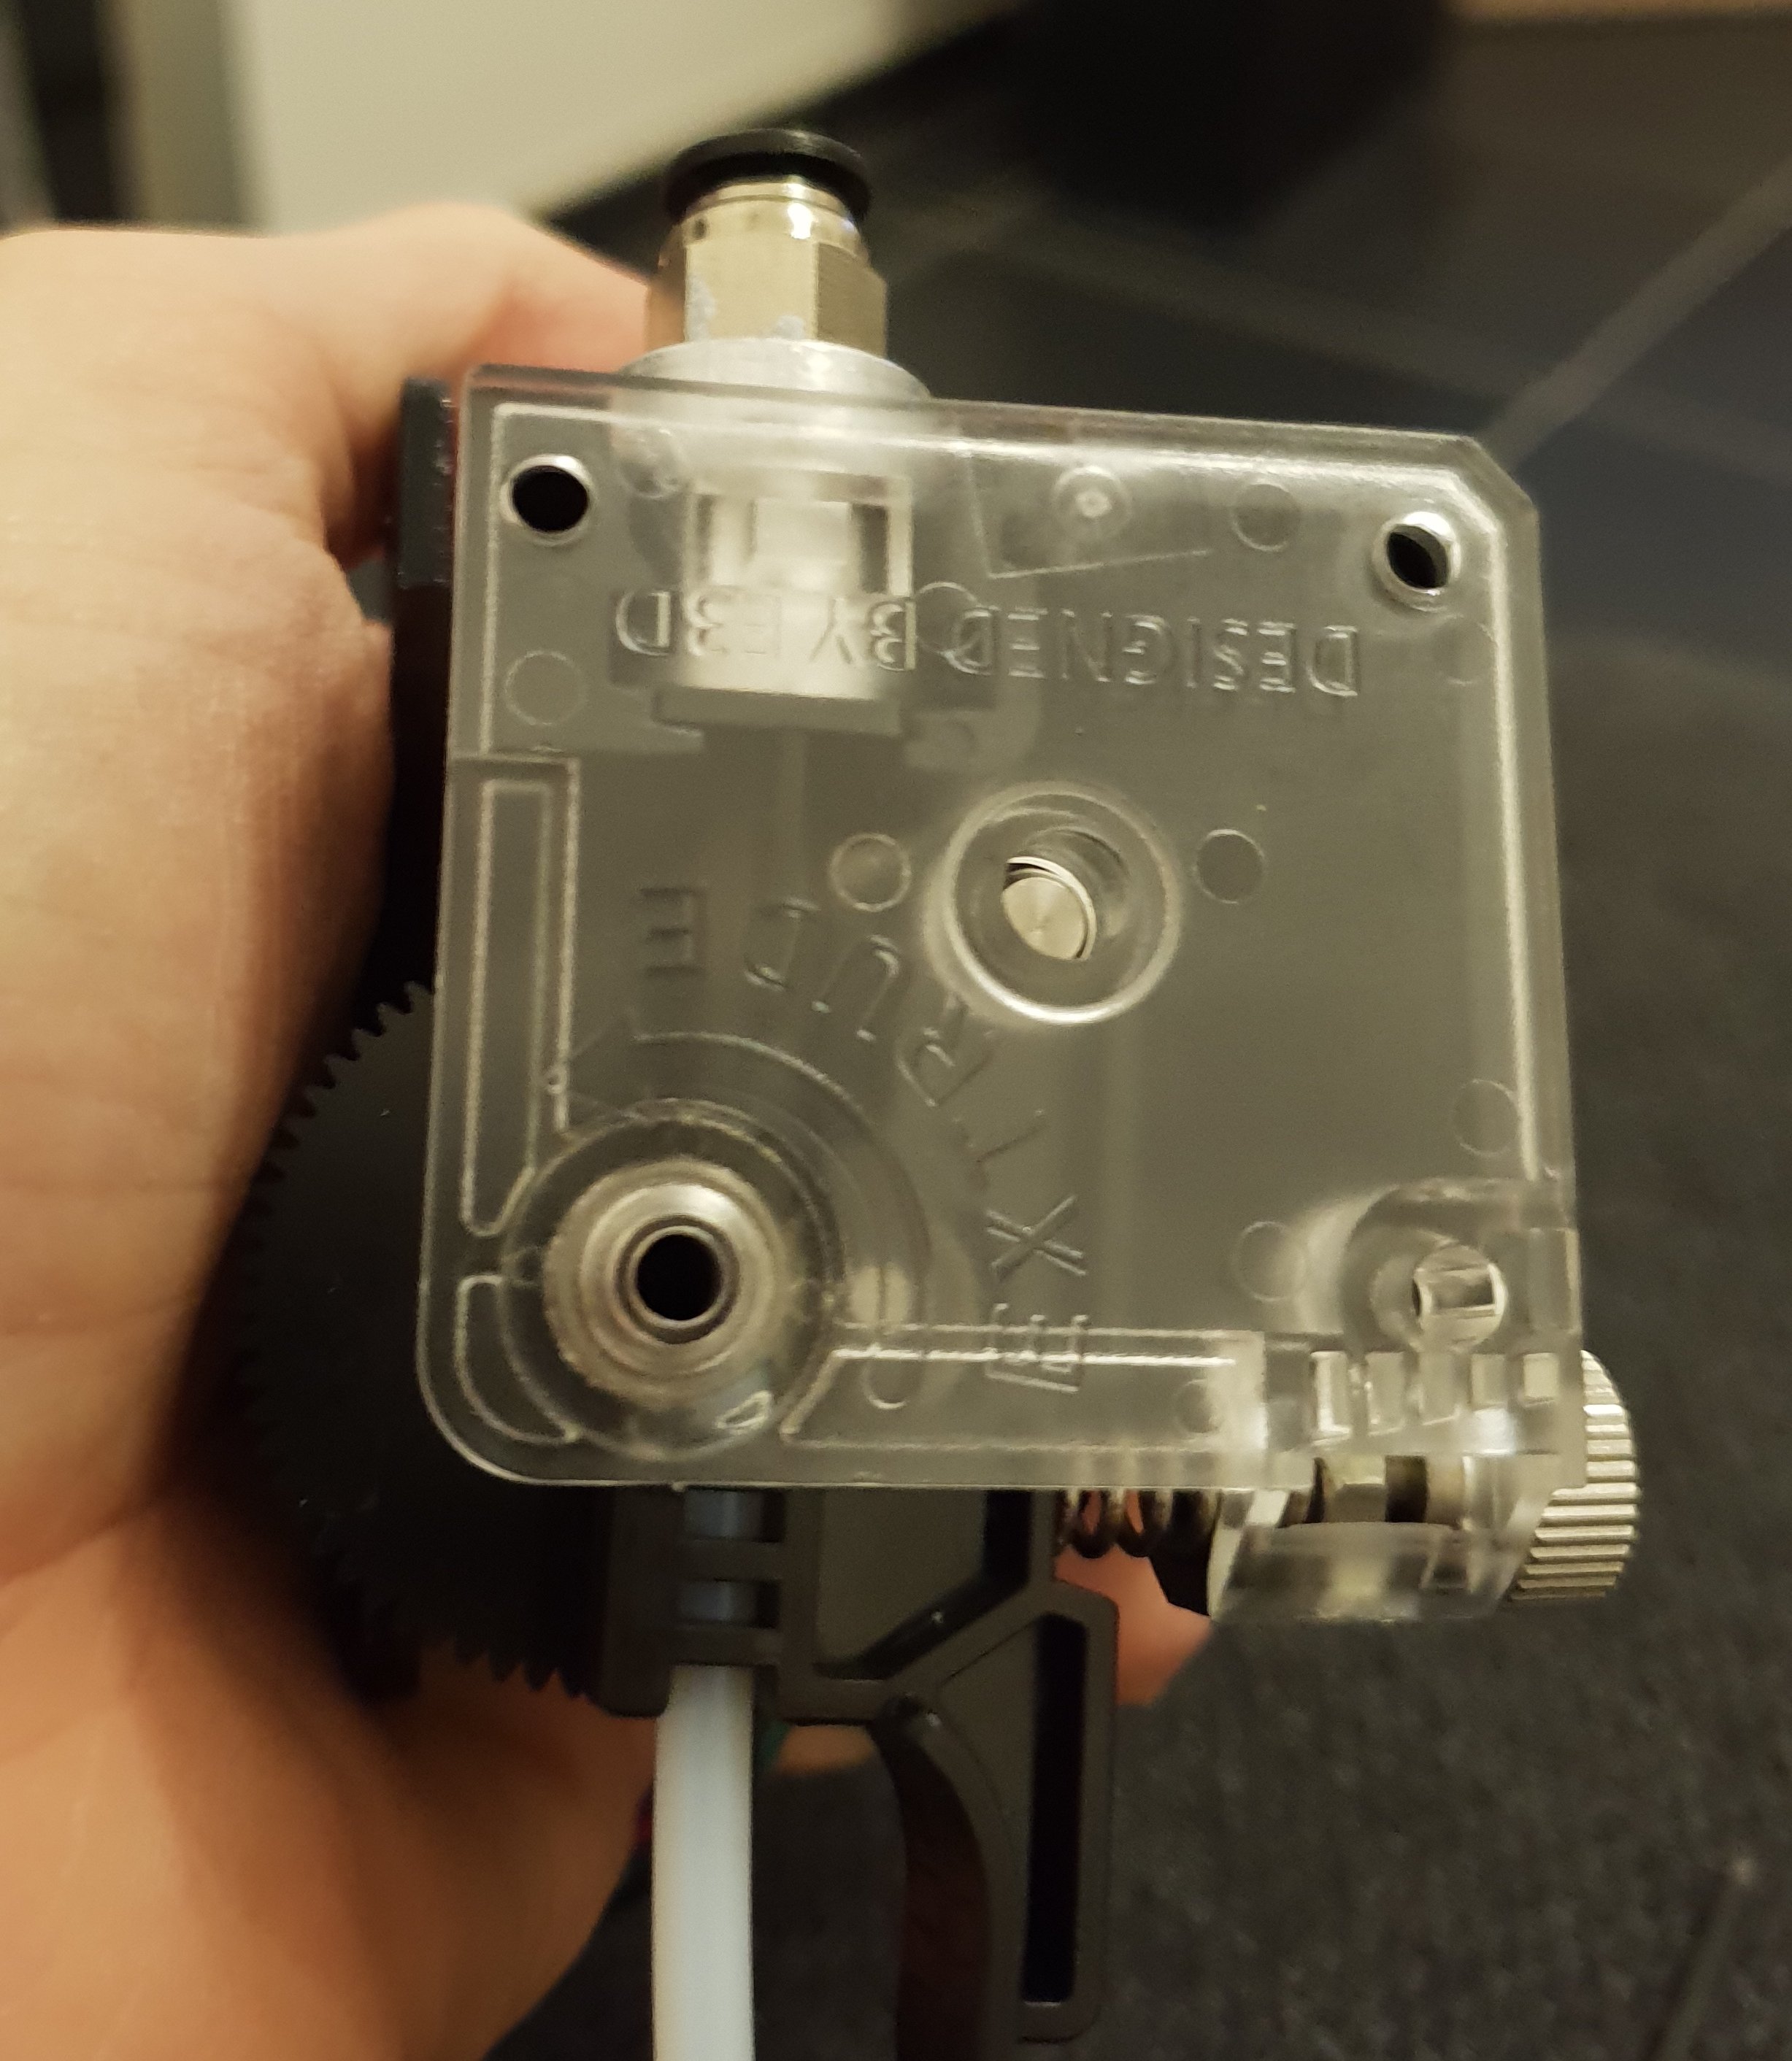
Once the extruder is removed, disassemble it by unscrewing the 3 hex bolts to recover the support and the motor:

Now, keep the support and remove the motor pinion (we can already see in the photo that after 1 year, it began to wear):


Then place the new steel gear (it should not be against the stepper, just slightly away from it):

Then place the extruder body on top and make sure you have oriented the holder properly. Place the first screw (the shorter one of the set) to fix the motor to the support:


Then place the throat of the extruder (if you have a white throat teflon unlike the black plastic of the photo, prefer the white, it will reduce the risk of jamming the extruder!) and the pneufit for the bowden:

Then place the lever and a piece of teflon tubing that you will take care to cut into a point, to reduce once again the risk of filament jam during the retraction:

Then set the extruder tightening adjustment screw:

Then place the protective cover and reassemble the extruder on the printer:

Do not forget to put your Teflon tube back on the pneufit!
Tuning
Before printing again, a change must be made in the printer firmware. Because the number of steps per mm is different on this extruder because of the notched wheel which multiplies the force of the engine.
I offer you three choices:
- You download the firmware already adapted on this link : marlin-derhopp-titan-stock-stepper.hex
- You modify Marlin yourself
- You use Klipper and I give you my settings
Edit Marlin
You must specify the number of steps/mm on Marlin. I calculated (and corrected) the default value for the Anycubic i3 Mega extruder motor: 415 steps/mm.
Open the Configuration.h file and look for the DEFAULT_AXIS_STEPS_PER_UNIT line like this (change 92.6 to 415):
/**
* Default Axis Steps Per Unit (steps/mm)
* Override with M92
* X, Y, Z, E0 [, E1[, E2[, E3[, E4]]]]
*/
#define DEFAULT_AXIS_STEPS_PER_UNIT { 80, 80, 400, 415 }
Fun fact : E3D recommends using 837 steps/mm : the E3D steppers have a resolution almost doubled compared to that of the i3 Mega, their motor is especially useful when you need to print very thin layers with a nozzle of a diameter less than 0.4mm. In most cases, you will not notice any difference, especially as we have more than quadrupled the resolution thanks to the extruder swap!
Edit Klipper
In your printer.cfg file, locate the configuration of your extruder and edit the step_distance line as shown in bold:
[extruder]
step_pin: ar26
dir_pin: ar28
enable_pin: !ar24
step_distance: .002410
nozzle_diameter: 0.400
filament_diameter: 1.750
max_extrude_only_distance: 120.0
heater_pin: ar10
sensor_type: ATC Semitec 104GT-2
sensor_pin: analog13
control: pid
pid_Kp=19.226
pid_Ki=0.720
pid_Kd=128.335
min_temp: 0
max_temp: 265
pressure_advance: 0.35
pressure_advance_lookahead_time: 0.01
Save and send the command "RESTART" in the Octoprint console.
Calibrate your extruder
First, make sure your extruder does not "click", if it is, adjust the tension of the clamping spring. The filament should be slightly marked as in the following picture:

Next, calibrate your extruder to make sure the amount of filament coming out of your extruder matches the amount of filament you want.
Results
The very first model I wanted to print in flex filament is a Fucktopus. For the very first impression, I used "safe" parameters for this filament (Flexible from Hobbyking):
- Cura 3.6
- 205°C for the first layer, 200 for the following
- Bed at 60°C
- Printing speed : 20mm/s
- Infill : 10%
- Fan at 100%
- Retraction distance 2.5mm
Here is the result :

Quite bad: stringing and the fingers are full of them: the retraction is too low. So I went further in the settings:
- Cura 3.6
- 205°C for the first layer, 200 for the following
- Bed at 60°C
- Printing speed : 25mm/s
- Infill : 0%
- Fan at 100%
- Retraction distance 6mm
- Retraction speed : 15mm/s
The result is already much cleaner and thanks to the lack of filling, our Fucktopus is soft as it should be!
Voir cette photo sur Instagram
Finally, last test with a Gecko, printed for fun in 0.06mm with the following settings:
- Cura 3.6
- 205°C for the first layer, 195 for the following
- Bed at 50°C
- Printing speed : 30mm/s
- Infill : 0%
- Fan at 100%
- Retraction distance 6mm
- Retraction speed : 15mm/s
Unfortunately the jaw has defaults probably due to the extrusion temperature, the results would probably be better by reducing it to 190°C and 200°C for the first layer...
Voir cette photo sur Instagram
Conclusion
This new extruder is more durable than the old one thanks to materials more adapted to the modern constraints of the 3D printing (flexible filaments, abrasive filaments) and more precise thanks to its notched wheel which increases the force of the motor. It is the reason that encouraged Anycubic to chose this model of extruder to update its Anycubic i3 Mega "S". In the absence of announcement of a kit of update of the classic i3 Mega, I strongly advise you to update yourself with material from Trianglelab which respects the specifications of E3D, the company to the basis of the design of the Titan extruder.
However, another alternative exists: the Bondtech BMG extruder that promises better filament grip and better accuracy. I have heard a lot of good things about it but I have not had the opportunity to test it. Be sure this will be the subject of another tutorial!
Site web créé avec l'aide de Wikeo